Wedding Day Timeline
Words and images by Tracey Allsopp
When it comes to creating the perfect timeline for your wedding day, who better to ask than a photographer who is also a makeup artist.
A wedding day timeline is the key to feeling relaxed, creating amazing images, and to make sure you get to do everything you have planned and dreamed of. For me, this is my priority throughout the entire day to capture all these moments.
Take the time to make sure your timeline is the best it can be. Selfishly, as a photographer, we want to make sure you have amazing lighting and enough time to create stunning images.
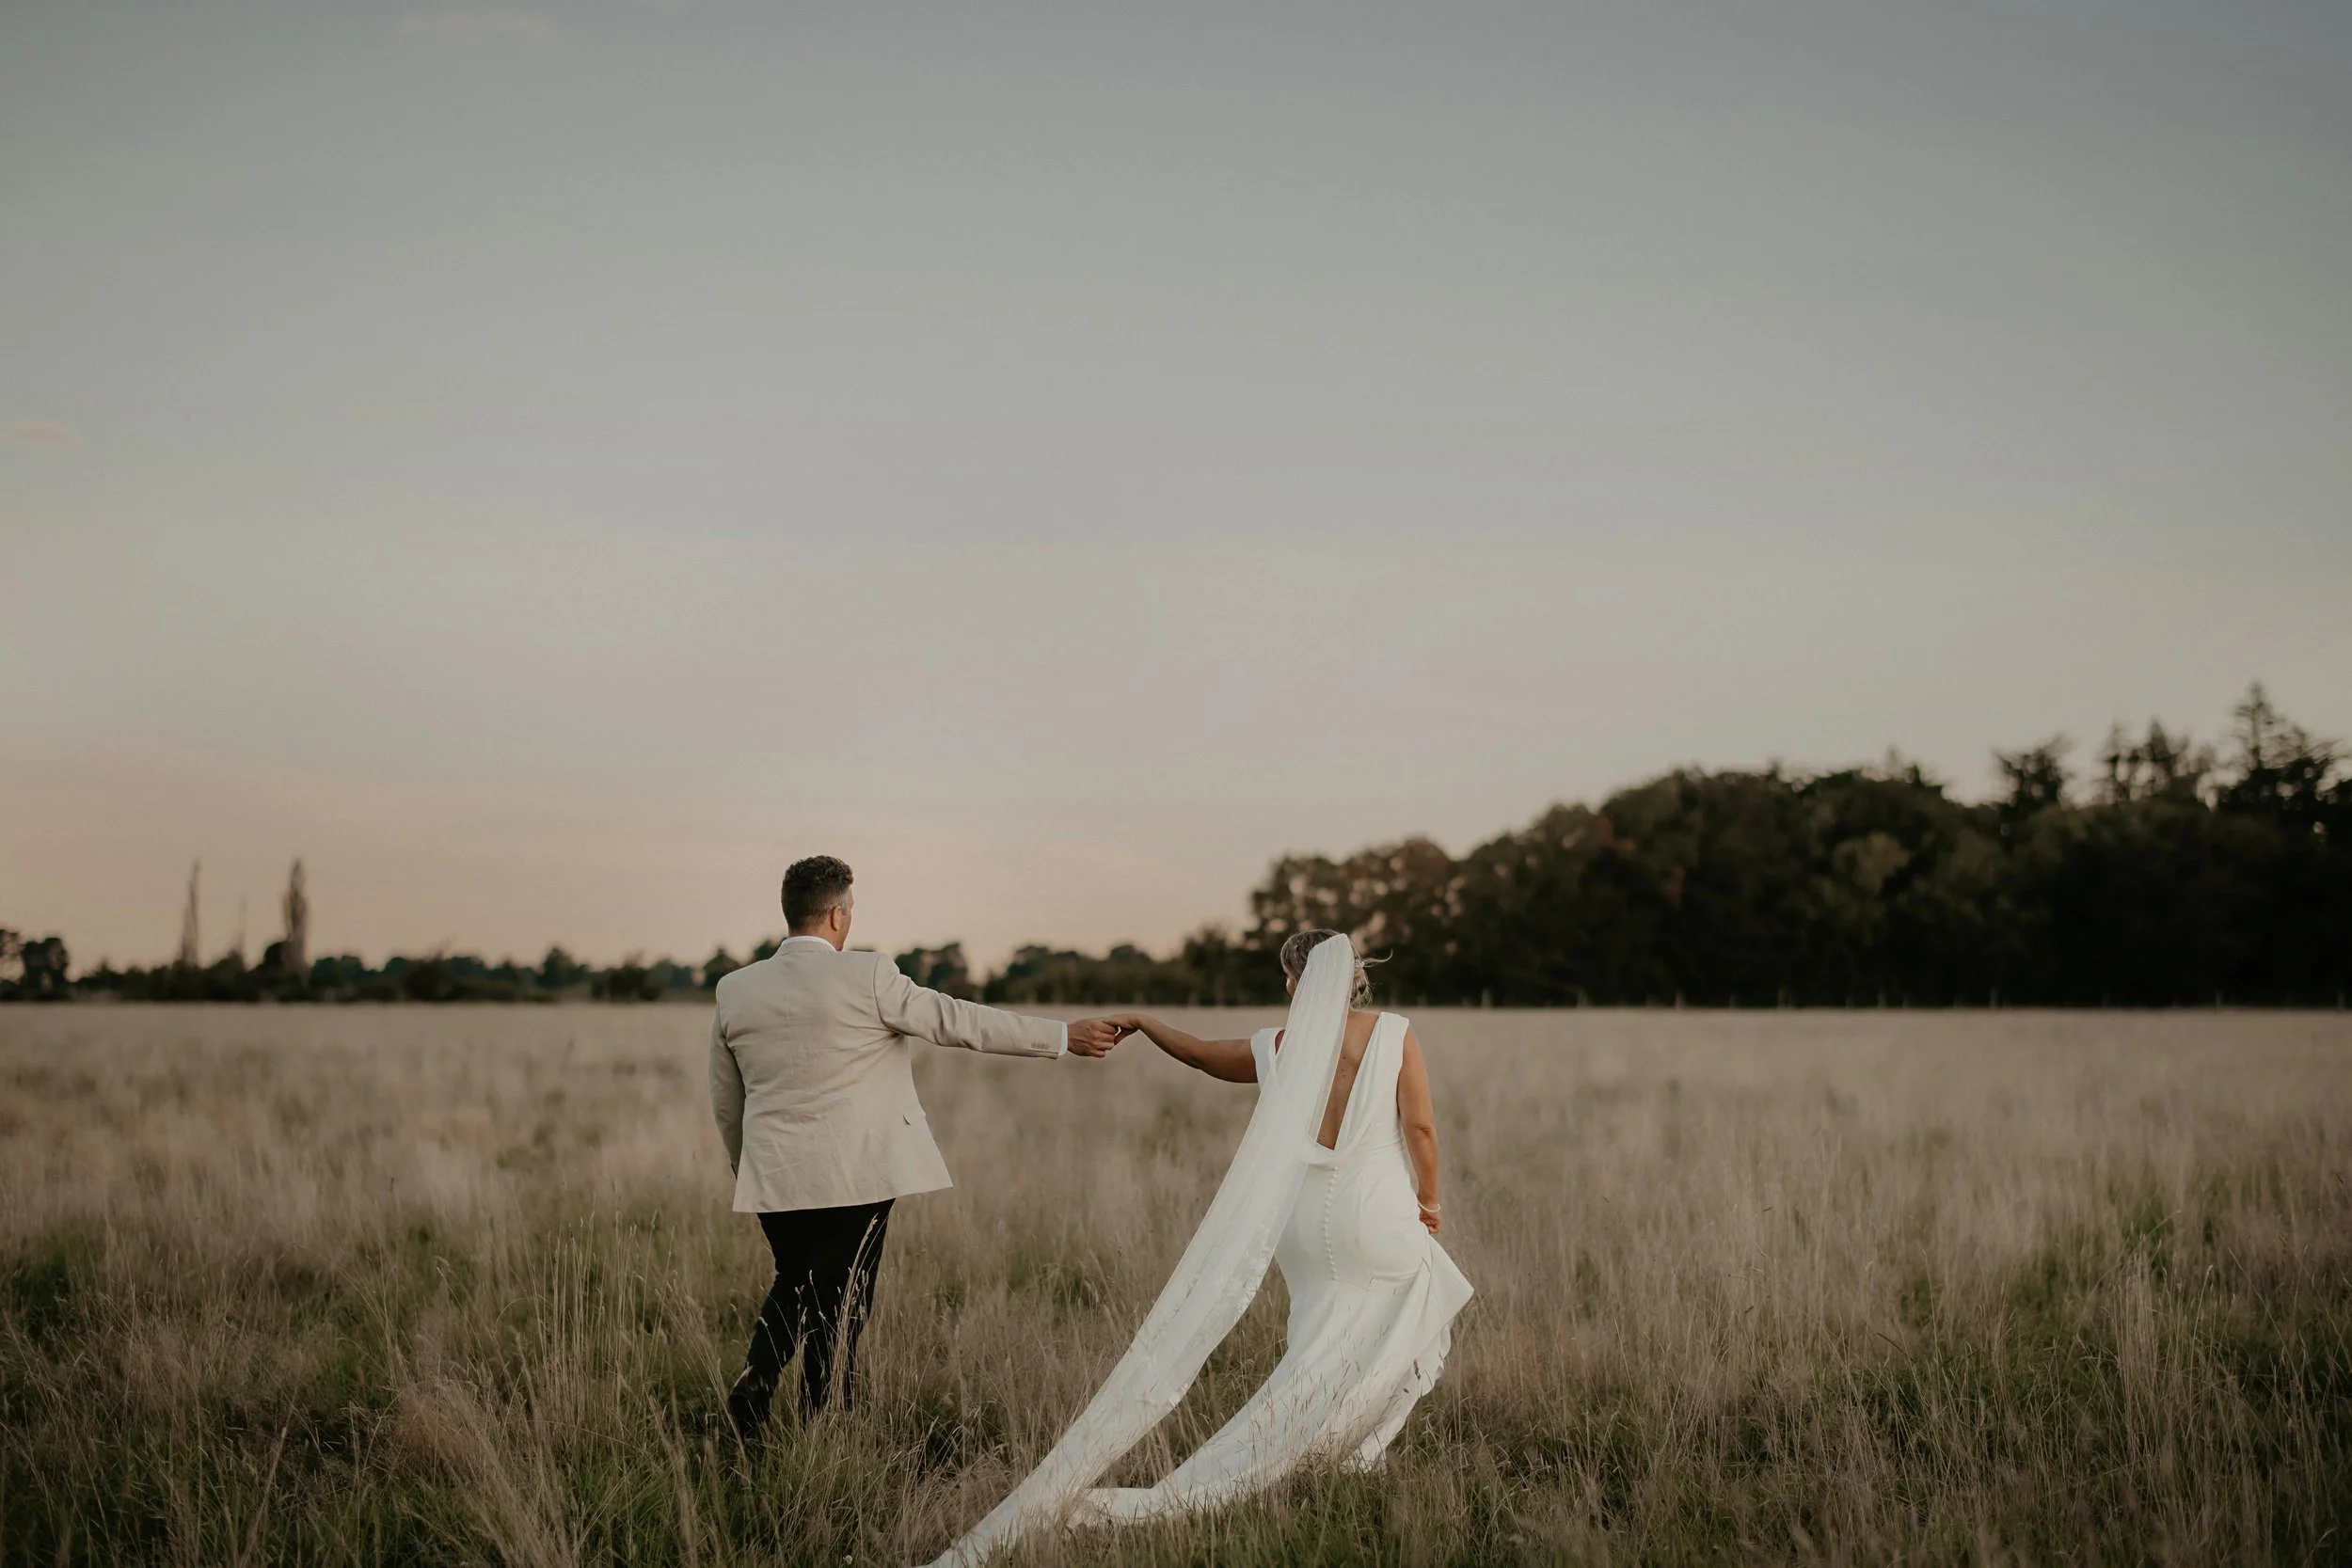
Everyone loves a summer wedding but they do get hot! Having a ceremony later in the day is best if possible (the hottest time of the day is 11 am – 3 pm) so a ceremony from 3.30 pm onwards is my fav, the sun will go down a bit then and the light is softer.
Also, bear in mind doing photos before the ceremony is not something I recommend as the light is often awful and harsh. So much better to do your portraits 20 minutes before sunset.
A Summer Wedding Day Timeline
(Based on photography and a 9 pm sunset):
12.30 pm Groom/Partner #1 getting ready
1.30 pm Bride/Partner #2 getting ready
2.30 pm Leave for ceremony
3.00 pm Arrive at ceremony
3.30 pm Ceremony
4.00 pm Ceremony ends
4.30 pm Group photos and canapés
5.00 pm Wedding party and portraits (on-site)
5.50 pm Guests start to be seated
6.05 pm Wedding party entrance and cake cutting
6.15 pm Speeches #1 and 2 (depending on length)
7.00 pm Speeches #3
8.15 pm First dance and dance floor opens for guests
8.40 pm Sunset portraits
9.30 pm Photography finishes
Timelines
The Ceremony
We recommend the groom/partner #2 and attendants arrive at the ceremony location around 45 minutes before the ceremony, in order to be there to greet guests. The ceremony will take approximately 30 minutes, depending on the service. You will talk this through with your celebrant. Also allow a bit of buffer time for unexpected events, e.g. if the bride is running late.
Family Photos – don’t make this list too long
Immediately after the ceremony allow around 20 minutes for everyone to congratulate you then straight into family photos before Aunty Mary gets too tipsy, lol. I think 12 group photos is a good number to shoot for, anything after that starts to take too much time and everyone will be over it (including you). Having an MC or family friend who knows a lot of the guests is a great idea to have them help round up for photos, each combination takes approximately 2–3 minutes.
Wedding Party and Portraits
Allow around 45 minutes – 1 hour (depending on how big your bridal party is). This is typically based on-site at the same venue. Remember you also have 20 minutes of bride and groom sunset portraits.
Dinner
Your caterers will give you an idea of timings based on your meal service. Check in with them if you’re running a little behind from your wedding party photos – this allows them to keep everything running smoothly. You’ll need to decide if your speeches happen between courses, or after the meal. If the time frame is tight, having the speeches during the meal can be a good time-saver; your MC can let guests know to continue eating as they are introducing speakers.
Speeches
Break up your speeches into two or three groups – anything more than two speeches can get restless, and drinks can be empty from all the toasting. The most common way is like this:
Speeches before dinner - the parents
Speeches in the middle of courses - groomsmen, maid of honour
Speeches after dinner - the couple
First Dance
This can be a little daunting for the best of us, so choosing a short song can be a great option. Also pre-organising your bridal party to join you on the dance floor after two minutes can take the limelight off you. Depending on how long you have a band or a DJ booked for, you can work backwards from this with the venue closing time. For example, 11.30 pm venue closes and you have the band/DJ booked for three hours, then having them set up and ready to go at 8.30 pm will give you your money’s worth.
Makeup Timeline
Having been a makeup artist and photographer for over 16 years, these are a few helpful tips:
Look after your skin; if you can have regular facials start around six months out.
The main things to focus on are hydration and exfoliation; these will determine how your makeup sits and lasts on the skin. Both will have it sitting smoother and for longevity.
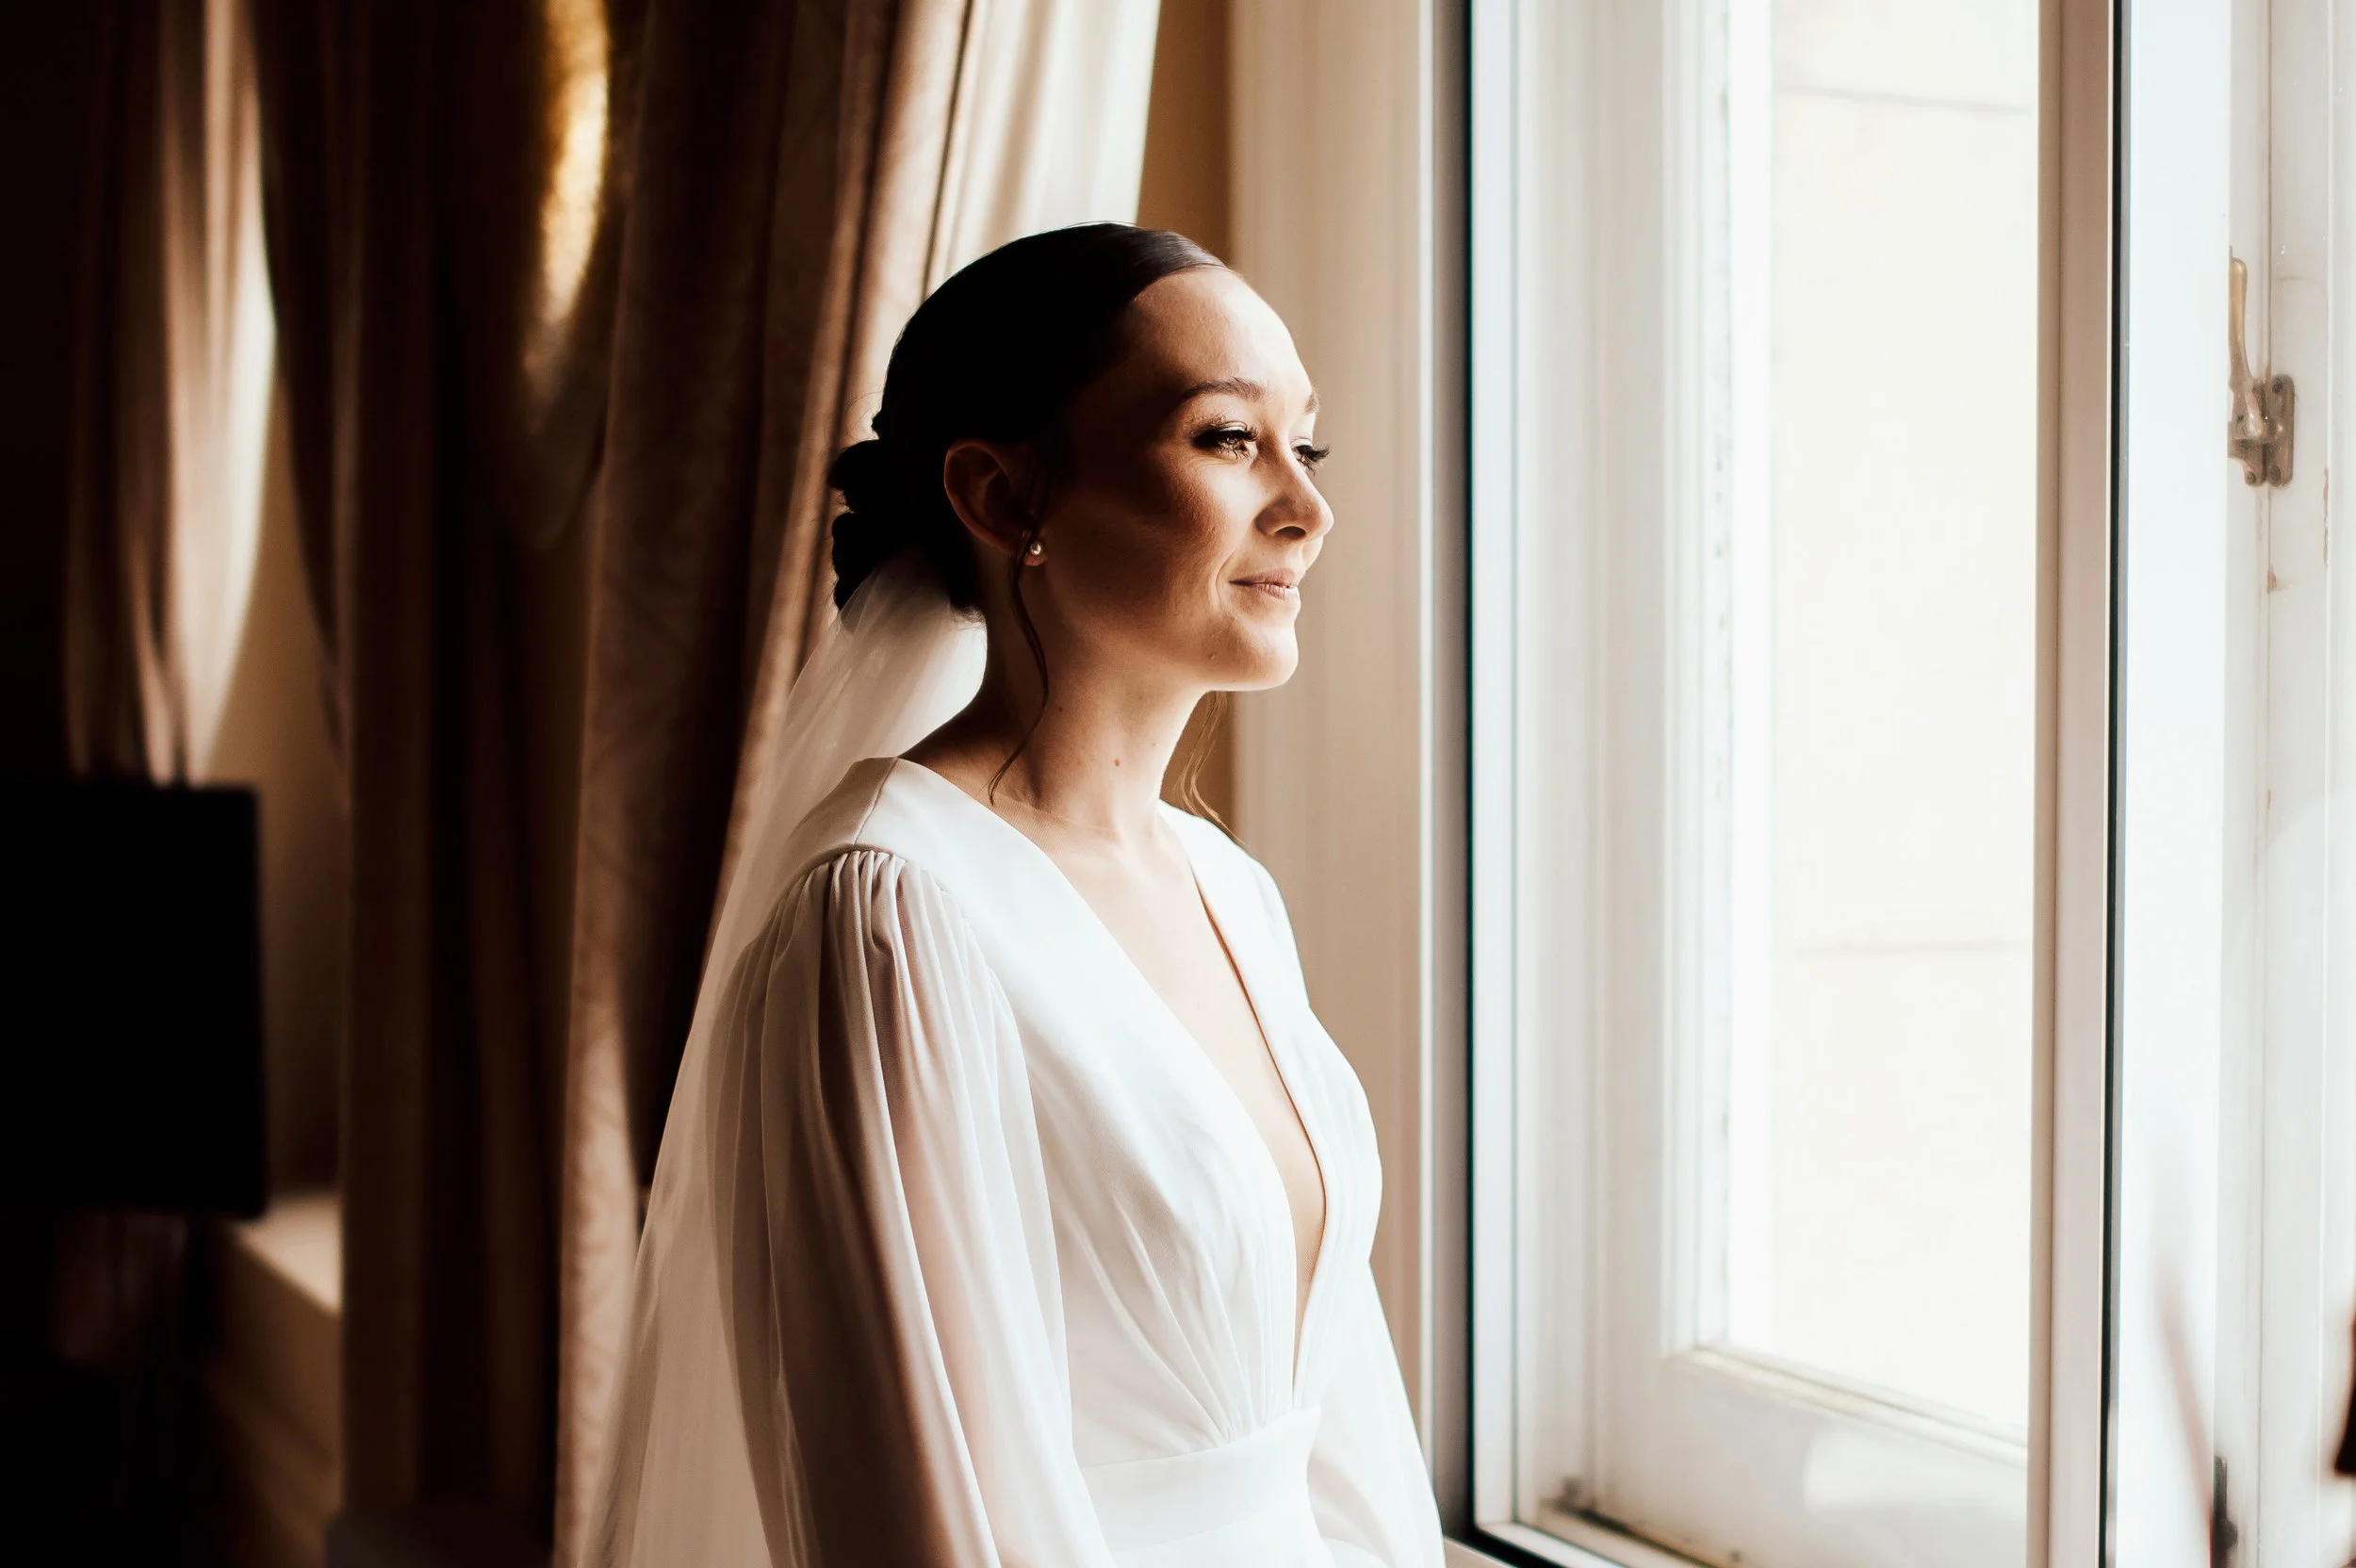
Choose a makeup artist who is used to photograph work, it is applied differently than your usual ‘just-going-out makeup’.
Go a little stronger – that doesn’t mean heavy on the skin, you lose about 20 per cent of the strength of the makeup in photos (how it appears).
Get rid of any facial hair (peach fuzz) as makeup will grab onto it and from side lighting it shows up more in photos.
Have around a 20–30-minute buffer for these timings, something always pops up that you need to do.
Give your makeup/hair person a finishing time 30 minutes before you want everything finished.
The bride shouldn’t go last for hair or makeup (if running behind then at least you have both done and you can start getting ready for photos while bridesmaids or mob are being finished off).
Make sure you aren’t in the same time slot for hair and makeup, for example, both at 11 am – one needs to be at 10 am and the next 11 am.
It’s best not to put your own sunblock on until you’ve asked your makeup artist, as there are two types – physical and chemical ones that sit differently on the skin.
Use false lashes! There are many good options, something to suit everyone. They completely open up the eyes!
Wedding Day Timeline for Makeup
(Based on three bridesmaids and one makeup artist – if two makeup artists then everything is halved):
8 am Bridesmaid #1
9 am Bridesmaid #2
10 am Bride
11 am Bridesmaid #3
Allow approximately 50 minutes – 1 hour per person for makeup. Depending on what time your photographer arrives, you can always swap out the times to suit if wanting photos of last-minute touch-ups.
Tips
Allow yourself enough time throughout the day to enjoy and simply just be in the moment.
Decide if going away for photos is something you really want to do (special spot, amazing scenery views) – take into account the travel time there and back, plus organising people into cars, finding bouquets, etc.
Ask your vendors for help and advice, they are experienced professionals who (hopefully) are there to make your day just perfect for you.
Allow a 15-minute buffer time for all your timeline segments – this will help you to not feel rushed or stressed. Sometimes things just go over, and knowing you have that buffer will make you feel more relaxed.
Soak it all up!


